

 Damp Proofing
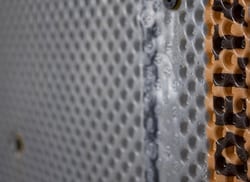 Basement Damp Proofing
 Water Damage
 Condensation Control
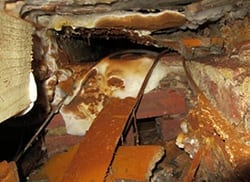 Dry Rot Treatment
 WOODWORM & WET ROT
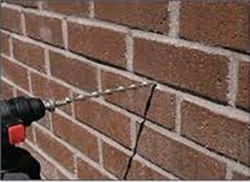 CAVITY Wall Ties
 Property Maintenance
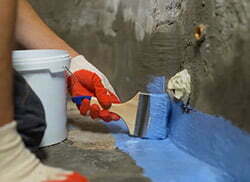 Waterproofing And Tanking
 Structural Repairs
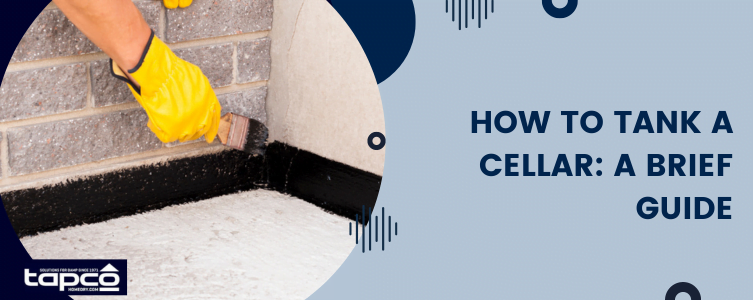
Key Takeaways
Tanking a cellar is an essential step in turning it into a usable, dry living or storage space. It creates a waterproof barrier against hydrostatic pressure and helps prevent damp, mould, and water ingress.
- Tanking involves applying slurry to walls and floors for a waterproof seal.
- Preparation is critical, including removing old coatings and sealing weak spots.
- Two coats of slurry are typically required, followed by breathable render and screed.
- DIY tanking is possible but risky; professional installation ensures reliability.
- Costs vary depending on size, condition, and level of water ingress.
For most homeowners, the cellar is a seldom used space. You might keep a few pots of paint, your Christmas decorations and maybe even a few bottles of wine down there, but it isn’t really a fully functioning space. This is often because the space is not properly waterproofed.
Without proper waterproofing, your cellar might feel damp and unpleasant. It would also be a waste of time to bother decorating, as the floors would eventually warp and wallpaper would peel off the walls. Before the basement can be a functional and useful space, you need to consider tanking.
What is cellar tanking?
Tanking is the industry term for making a space waterproof and it usually refers to below-ground spaces. This process involves applying a liquid waterproof coating to the walls and floors or your cellar to help prevent water ingress. It is a permanent solution for dampness in your basement.
The reason that basements need special treatment is that they are underground. As such, they are subject to something known as hydrostatic pressure. The earth around your home is saturated with water, and the earth puts pressure on the water.
When water is put under pressure, it will always try to move to a space where the pressure is lower. When there is a basement for the moisture to move into, it will always move in that direction, unless there is something blocking its path.
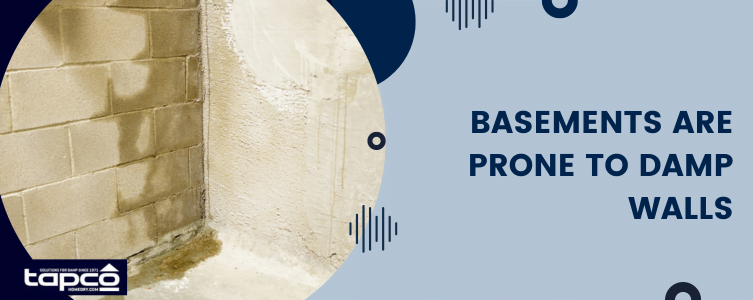
Damp walls are colder than dry walls and this leads to issues with condensation and mould. These are all things that will make a basement space unpleasant to be in.
Tanking helps to prevent these issues by creating an impermeable barrier between the outside and inside of your basement. The tanking slurry is applied directly to the walls and floors and then cured. This creates a waterproof seal that prevents water from getting into your basement.
The alternative to tanking would be a cavity drain system. This would allow water in and then drain it out through a network of channels. The floors and walls are covered with a waterproofing membrane to keep the space dry, and the cavity drain system controls the moisture that gets into the space.
How does tanking slurry work?
Tanking slurry is one of the most effective ways to deal with a damp basement. It is also known as cementitious tanking. It is a special mixture designed to stop water ingress. It comes pre-mixed, or you can buy it as a powder that is mixed with water on-site.
Some people recommend using a bitumen coating to tank a cellar, but this isn’t suitable for the entire space. These coatings are better suited for small above ground areas and for external waterproofing.
Tanking slurries blend together cements, aggregates and chemical modifiers to block the passage of water. Some also include acrylic polymer to improve the strength and make for stronger bonding to the walls as well as adding abrasion resistance.
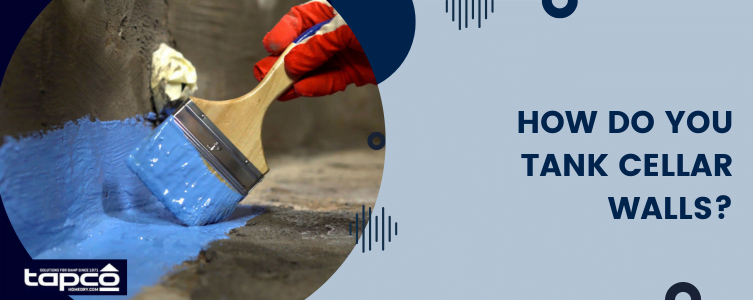
How do you tank cellar walls?
The key to success when tanking a cellar is all in the prep work. It’s vital to identify larger areas where water might be getting through and sealing these first. Masonry surfaces will need to be thoroughly prepared.
In general, you will need to remove all items from the walls and floors and then remove all plaster and render. If the basement has been tanked previously, these coatings will need to be removed to expose the original masonry. Mortar joints and loose materials can then be removed to prepare for the next steps.
If the space has high salt levels, then a salt inhibitor should be used at this stage to help prevent issues from occurring in the future. At this stage, you should be able to see spaces where seepage occurs.
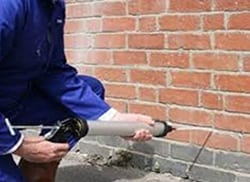
A reinforced joint may also be required at the weak spots where walls meet the floor to ensure complete waterproofing. This will involve cutting around 20mm into the wall, cleaning away debris and applying a coating of slurry 100mm up the wall and across the floor. A special sealant is then added while the slurry is still tacky, creating a cove from the wall to the floor.
Protect Your Space
Tanking creates a permanent waterproof barrier, preventing damp, mould, and water damage in your basement.
DIY vs Professional
While tanking can be attempted as a DIY project, professional installation ensures long-term reliability and peace of mind.
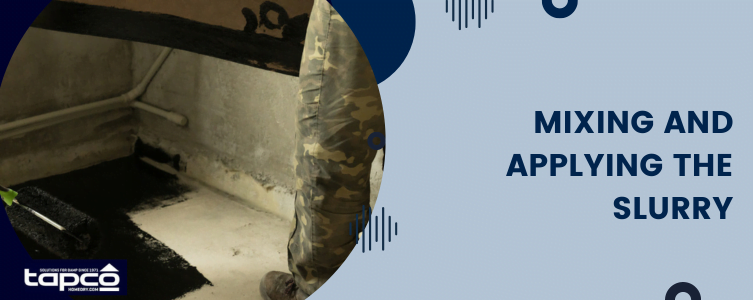
Mixing and applying the slurry
If you are carrying out the process yourself, you will need to take care with the materials as they can be harmful to your skin. The slurry in a powdered form is also very dangerous if inhaled.
Wear protective clothing, including gloves, a face mask and goggles. You’ll also want to protect your clothes with overalls as this process can be quite messy. Don’t allow the powder to come into contact with your skin as it can cause irritation.
If you are mixing the material on site, bear in mind that it will be unworkable after around 45 minutes. This means you should mix it in smaller batches, with just enough to use within a 30-45 minute period.
Always follow the instructions supplied with the slurry, as different brands may be slightly different. You will typically need to mix it at a slow speed using a high torque drill and a plaster mixer. Mixing will take around 3 minutes and you’re looking for a batter-like consistency.
The slurry needs to be applied to damp surfaces, so if your walls and floors are currently dry, you’ll need to dampen them first. Most products will require two coats. The first goes directly onto the masonry in a horizontal direction. You’ll then need to wait for this to dry before applying the second coat. It can take 2-24 hours for the first layer to dry.
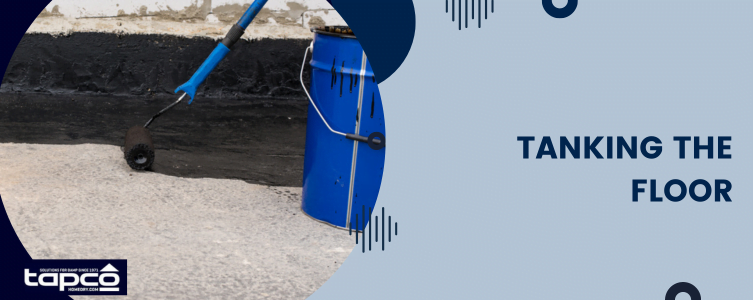
Tanking the floor
Once the walls are finished, it’s time to tank the floors. This area is just as important as the walls and will help to ensure your basement is fully protected against water ingress from below.
You’ll follow the same method as the walls, applying one coat of the slurry and then allowing this to dry before applying the second coat. You can’t leave the floor coating exposed, so you’ll need to apply a floor screed once the second coat has dried. You can then install your floor tiles or other floor covering.
When taking the floors and walls, you might notice some moisture as the slurry cures. This is completely normal and simply part of the process, as water vapour will condense on cold surfaces.
Decorating
By this stage, your walls and floors are completely waterproof, so you can start thinking about decorating your space. Before you can decorate your walls, you’ll need to add a breathable render to the walls. You need to wait 24 hours after the second coat of slurry has been applied before you do this. You can do this even if there are still some damp or darker patches in some areas.
The render needs to be around 10mm thick. To achieve this, you can make a mix of three-parts sharp washed sand to one-part cement. Use this specialist cement to coat your walls and prepare for the decorative stages.
When choosing your paint or wall coverings, you need to choose vapour permeable materials such as trade emulsion or wallpaper. Steer clear of gloss paint, vinyl emulsions or washable wallpapers.

How much does tanking cost?
If this process sounds messy and unpleasant, it might be a good idea to call in the professionals. Hiring a professional company to tank your basement is advisable as this is a significant investment. If something goes wrong with your DIY tanking, you might have to rip up brand new flooring and repaint recently decorated walls.
The cost of tanking will all depend on the size of the space and the condition of the walls. More extensive damp problems with larger areas of water ingress will be more expensive to remedy than less extensive damp issues.
If you want to know more about the cost, work involved and any other questions, you can contact a damp expert at Tapco Homedry and we can arrange a visit to give you a comprehensive quote.
Key takeaway
Tanking a basement is an ideal way to create more livable space in your home. Whether you plan to use the space for storage or you’ll be turning it into an additional living space, tanking is one step that you can’t afford to skip.
Tanking requires extensive preparation followed by multiple coats of waterproofing slurry. It could take a long time to complete the tanking process for a very large basement space. You’ll also need to install your flooring straight away, and your walls will need to be covered with a breathable render. The tanking slurry shouldn’t be left exposed, even after it has cured.
It is possible to complete this process yourself, but the risks of something going wrong during a DIY tanking are quite high. And if the tanking fails, you could end up with damaged flooring, furniture and other possessions. To avoid this risk, we recommend hiring a professional basement waterproofing company to complete this task.
Highlights
- Cellar tanking with waterproof slurry
- Hydrostatic pressure and water ingress
- Preparation and surface cleaning
- Two-coat slurry application
- Floor screed and breathable render
- DIY vs professional installation